Engineering
Jan 21, 2022
Engineering
Using Per-Folder Storage Quota on XFS Filesystem

Jonghyun Park
Co-Founder / Research Director
Jan 21, 2022
Engineering
Using Per-Folder Storage Quota on XFS Filesystem
Jonghyun Park
Co-Founder / Research Director
Backend.AI uses containers to provide isolated computation environments (sessions) for each user. Typically, a container’s filesystem is composed of a read-only layer and a writable container layer. All files created by the user during the session are stored in the writable layer. However, since this layer is ephemeral, all user-generated files are lost once the container is deleted. To address this, a specific directory from the host filesystem can be mounted into the container. Files saved in these mounted directories persist beyond the container's lifecycle, enabling long-term data storage.
These mounted directories are referred to as "storage folders" or "data folders" in Backend.AI, and can be managed through the platform. For a more detailed explanation of how Backend.AI handles these external mount folders, refer to this article: Using Auto-Mount Folders in Backend.AI.
From the perspective of administrators who need to efficiently manage limited compute infrastructure, it may be necessary to set a maximum size for each data folder. Without explicit limits, disk space can be quickly exhausted—especially when there are many users or large-scale data involved.
In theory, it is possible to impose folder-specific storage limits by monitoring all file I/O operations and events, and by building an additional metadata management layer. However, due to the significant overhead associated with such monitoring, this approach is generally impractical. In particular, workloads involving large volumes of files—such as those in machine learning—can suffer from severe performance degradation. Therefore, Backend.AI only supports folder-level storage limits when such functionality is natively available at the filesystem or storage layer.
In this article, we’ll explore how to configure and use storage quotas for Backend.AI data folders on the XFS 1 filesystem. If you're specifically interested in applying quotas via the GUI, feel free to skip ahead to the section titled Using Folder Quotas via the Backend.AI GUI.
Preparing the XFS Filesystem
To set per-folder storage limits using XFS, you first need a disk device formatted with the XFS filesystem.
If you're only testing, you can also use a loopback disk device2.
To mount a loopback device formatted with XFS at /vfroot/xfs_quota, run the following commands:
# Create the target directory for mounting
sudo mkdir -p /vfroot/xfs_quota

# Create a 1 GB image file
sudo dd if=/dev/zero of=xfs_test.img bs=1M count=1024

# Format the image file as XFS
mkfs.xfs xfs_test.img

# Mount the loopback device with 'pquota' option to enable project quotas
sudo mount -o loop,rw xfs_test.img -o pquota /vfroot/xfs_quota
In Backend.AI, the folder quota feature on XFS is implemented using XFS's project quota option.
To enable the project quota feature in XFS, you must include the -o pquota option when mounting the filesystem. If the command was executed successfully, the /vfroot/xfs_quota directory is now an XFS filesystem with project quota enabled and a total size of 1 GiB.
:note:
To enable project-based quota functionality on the root filesystem, the
pquotamount flag must be set in therootflagsboot parameter. However, for operating Backend.AI, it is recommended to separate the OS partition from the data partition, so this approach is not recommended.
To unmount and remove the mounted device afterward, run the following commands:
sudo umount /vfroot/xfs_quota
sudo rm xfs_test.img
Configuring the Storage-Proxy Backend
Backend.AI includes a standalone service called Storage-Proxy, which is responsible for managing data folders and handling file I/O requests. To flexibly support various storage systems and filesystem-specific features, Storage-Proxy uses a pluggable backend architecture.
If no specific backend is configured, it defaults to operating as a standard filesystem. However, when a specific backend is set, Storage-Proxy can leverage the high-performance APIs and special features provided by that storage or filesystem3.
Therefore, to use XFS’s built-in disk quota functionality within Backend.AI, the xfs backend must be configured in Storage-Proxy.
For installation and operation instructions of Backend.AI, including Storage-Proxy, please refer to the Backend.AI meta repository.
NOTE
Querying and modifying XFS project quota information requires
rootprivileges. As a result, the Storage-Proxy service must also be run asroot.
After installing Storage-Proxy, open the configuration file (storage-proxy.toml) and add the following section. Setting the backend to vfs indicates the use of a regular filesystem. In this case, we set it to xfs to enable the XFS backend. The path should point to the mount path of the XFS device.
[volume.xfs_quota]
backend = "xfs"
path = "/vfroot/xfs_quota"
Once the Storage-Proxy service is restarted, Backend.AI is ready to use the XFS filesystem. The only remaining step is to apply the XFS quota feature through the GUI.
NOTE
XFS project quota information is stored in two files:
/etc/projectsand/etc/projids. Since Storage-Proxy also interacts with these files to manage quotas, you must ensure they are not deleted or corrupted. It's a good practice to back them up regularly.
Using Folder Quotas via the Backend.AI GUI
Once XFS is mounted and the Storage-Proxy is properly configured, administrators can easily manage per-folder quota limits through the GUI.
In the Backend.AI Control Panel (Admin UI), you can configure a Max Folder Size in each user’s resource policy. In the example below, the limit is set to 100 MiB. Users associated with this policy will no longer be able to create files exceeding 100 MiB per folder. This quota value can be adjusted at any time by the administrator.
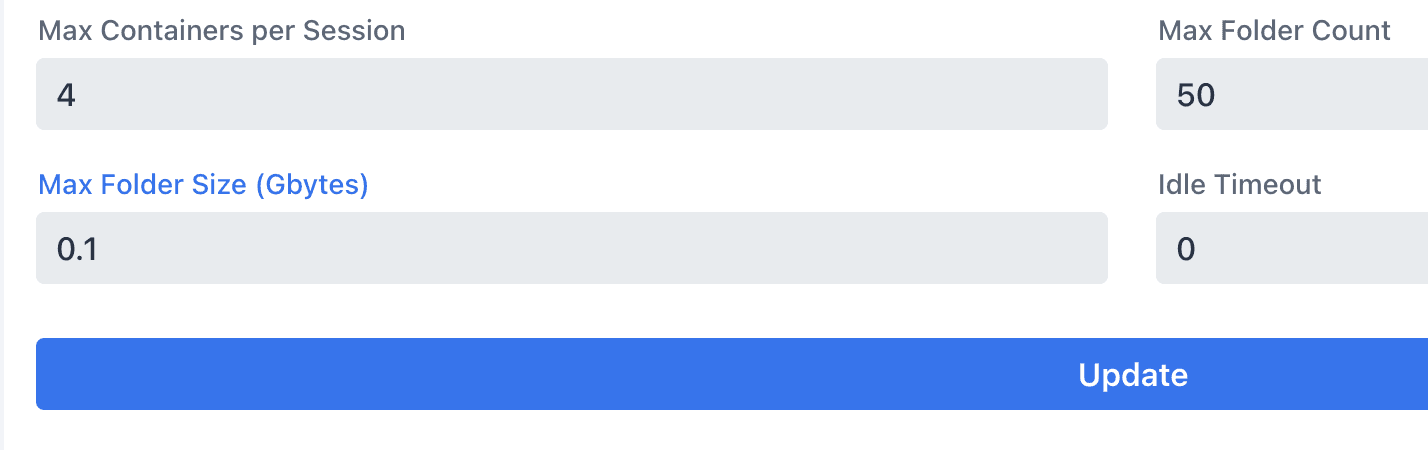
Figure 1. Setting per-user folder quota via the Control Panel
To verify the setup, we logged in through the user GUI and created a new data folder named xfs-test-folder.
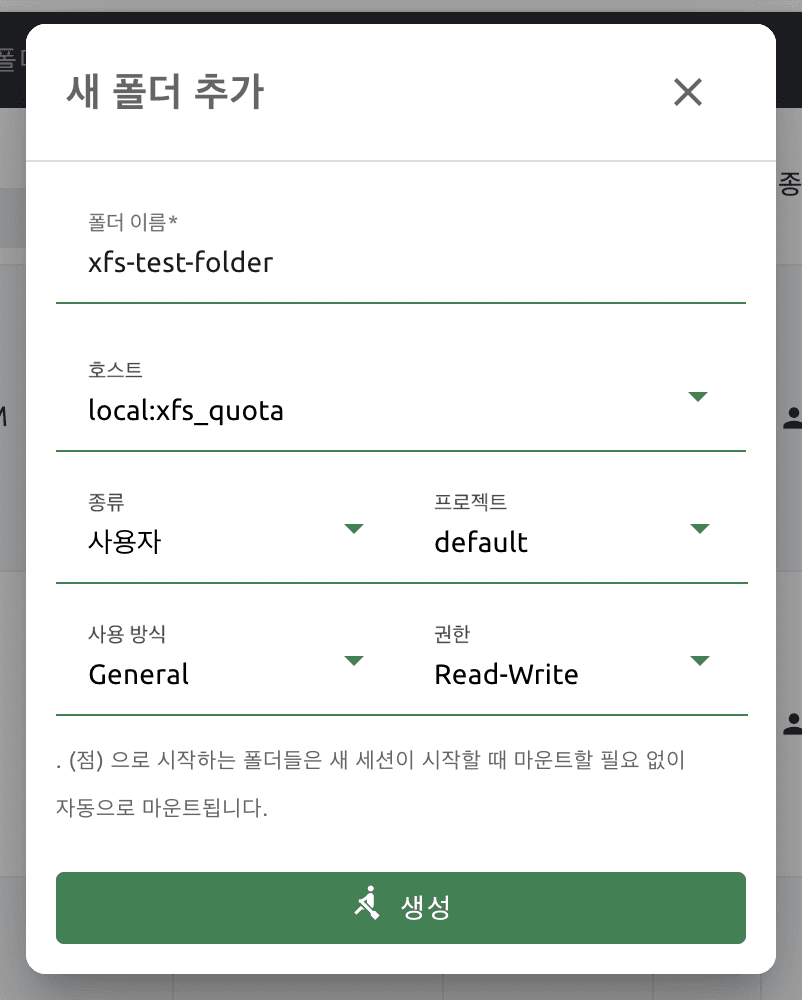
Figure 2. Creating a user folder via the Web UI
The newly created folder appears in the data folder list, and we can confirm that the 100 MiB quota has been applied.

Figure 3. Data folder created with quota applied
We mounted the folder, started a compute session, and opened a terminal app. After navigating to the mounted folder at /home/work/xfs-test-folder, we attempted to create a 200 MiB file (bs=200M count=1).
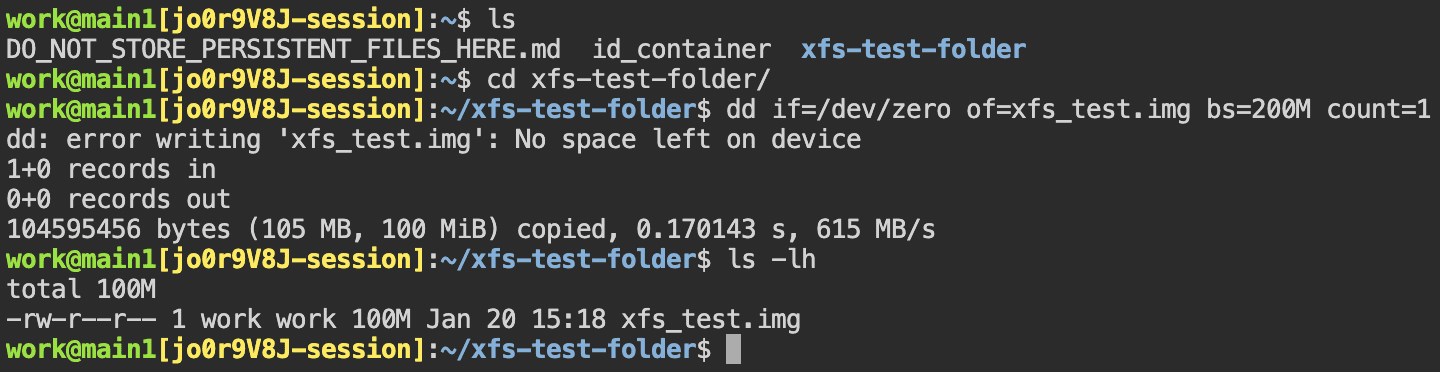
Figure 4. Attempting to create a 200 MiB file in a quota-restricted folder fails
As shown in Figure 4, trying to create a 200 MiB file results in a No space left on device error. When checking the actual file size, we can see it is exactly 100 MiB, indicating that the quota defined in the resource policy is being enforced correctly.
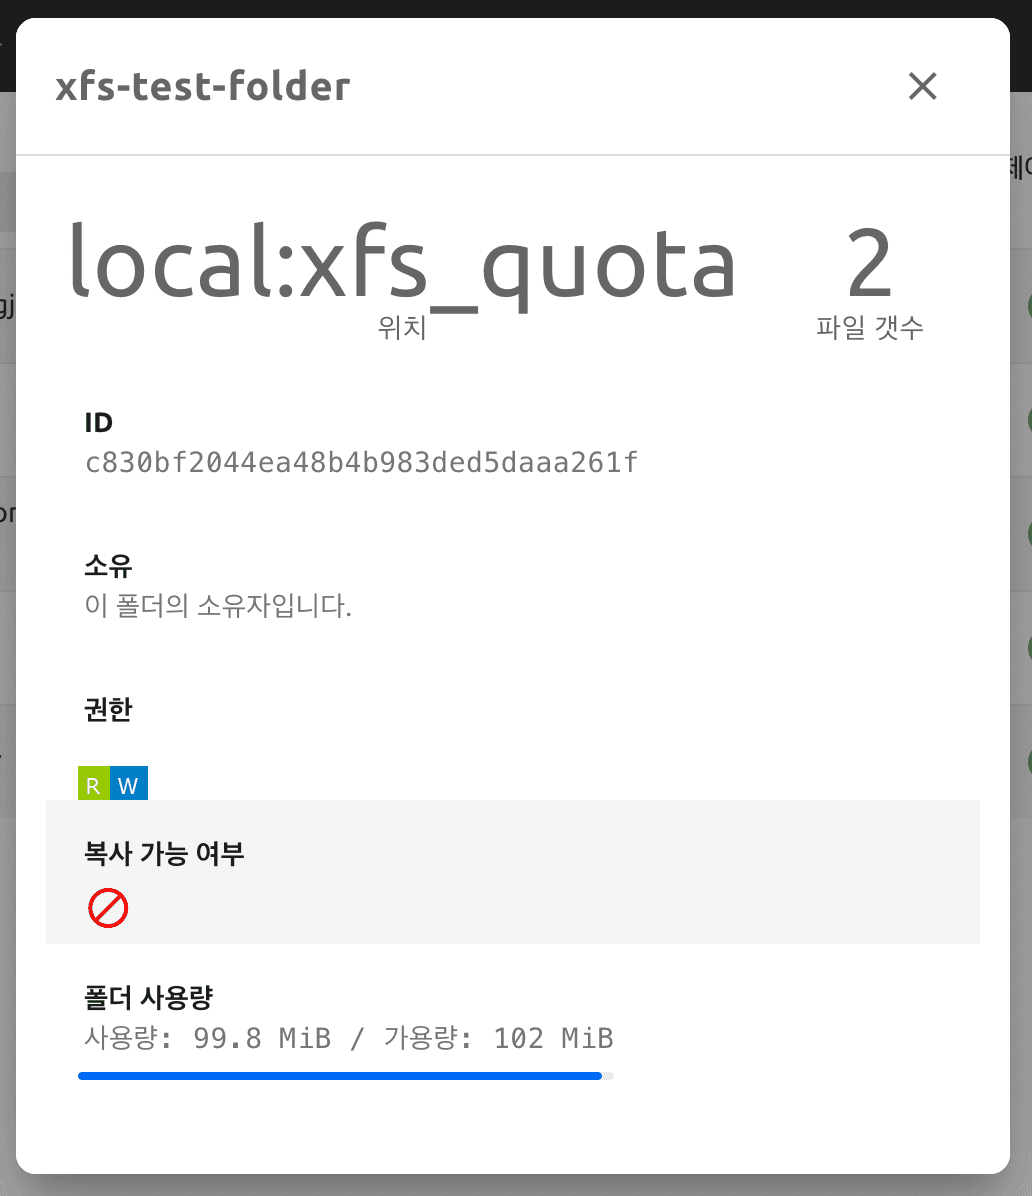
Figure 5. Viewing folder usage and quota information in the Web UI
By clicking the folder info button in the Web UI, you can view detailed information about the folder. In the "Folder Usage" section, you can check both the current usage and the quota limit.
This way, both administrators and users of Backend.AI can easily take advantage of folder-level quota features through the GUI, without needing to worry about the underlying XFS quota implementation.
Conclusion
In this article, we explored how to set and manage per-folder storage quotas using the XFS filesystem in Backend.AI. Although some initial setup is required at the system level, once configured, administrators and users can manage quotas conveniently through the dedicated UI.
Beyond XFS, any storage system that supports quota functionality can be integrated into Backend.AI through a custom Storage-Proxy backend plugin. In fact, Lablup is actively working with storage partners to develop dedicated backend plugins, some of which are expected to support folder quota features.
Footnotes
-
XFS is a 64-bit journaling filesystem and the default filesystem for RHEL (Red Hat Enterprise Linux)–based operating systems. It provides disk quota functionality at the filesystem level, allowing limits to be set per user or per project. ↩
-
A loopback device is a virtual block device that treats a regular file on an existing filesystem as if it were an actual disk. While useful for testing, loopback devices are generally not recommended for production environments due to potential security and performance issues. ↩
-
Currently, Storage-Proxy supports the following backends: VFS (default), XFS, PureStorage, NetApp, and CephFS. ↩


